Big wheels are all the rage. I’m not talking actual wheels, but jockey wheels! Oversized Pulley Wheels (OSPW) have been around for a while, with Ceramic Speed leading the market. We’re talking around $600 for a Ceramic Speed branded cage though! Those of us who are little more savvy can find a very similar design, still carbon and with ceramic bearings, on most popular auction sites for about a tenth of the price.
Does an OSPW setup actually save watts? That’s highly debateable (and the answer is probably; no) but they look dead sexy – and that’s got to count for something! There’s no doubting they spin for DAYS though. Here’s a quick comparison video, spinning the lower pulley of a standard Ultegra wheel and the OSPW.
This guide is for fitting to Shimano R-series derailleurs (R8000, R9000). That’s the current 11-speed generation of Ultegra and Dura Ace mechanical or Di2 rear derailleurs (it’s possible 105 is the same, but I’m not 100% sure). Earlier 6000 and 7000-series derailleurs differ in the way the cage attaches to the body so the installation is slightly different.
Fitting may seem tricky at first, but it’s actually a pretty simple task that should take under an hour. If you’re fitting this to your existing rear derailleur, you’ll first need to break the chain, undo the shift cable, then unbolt the derailleur from the frame. Technically you could install the OSPW with the derailleur in place, but it’d be a much more fiddly job.
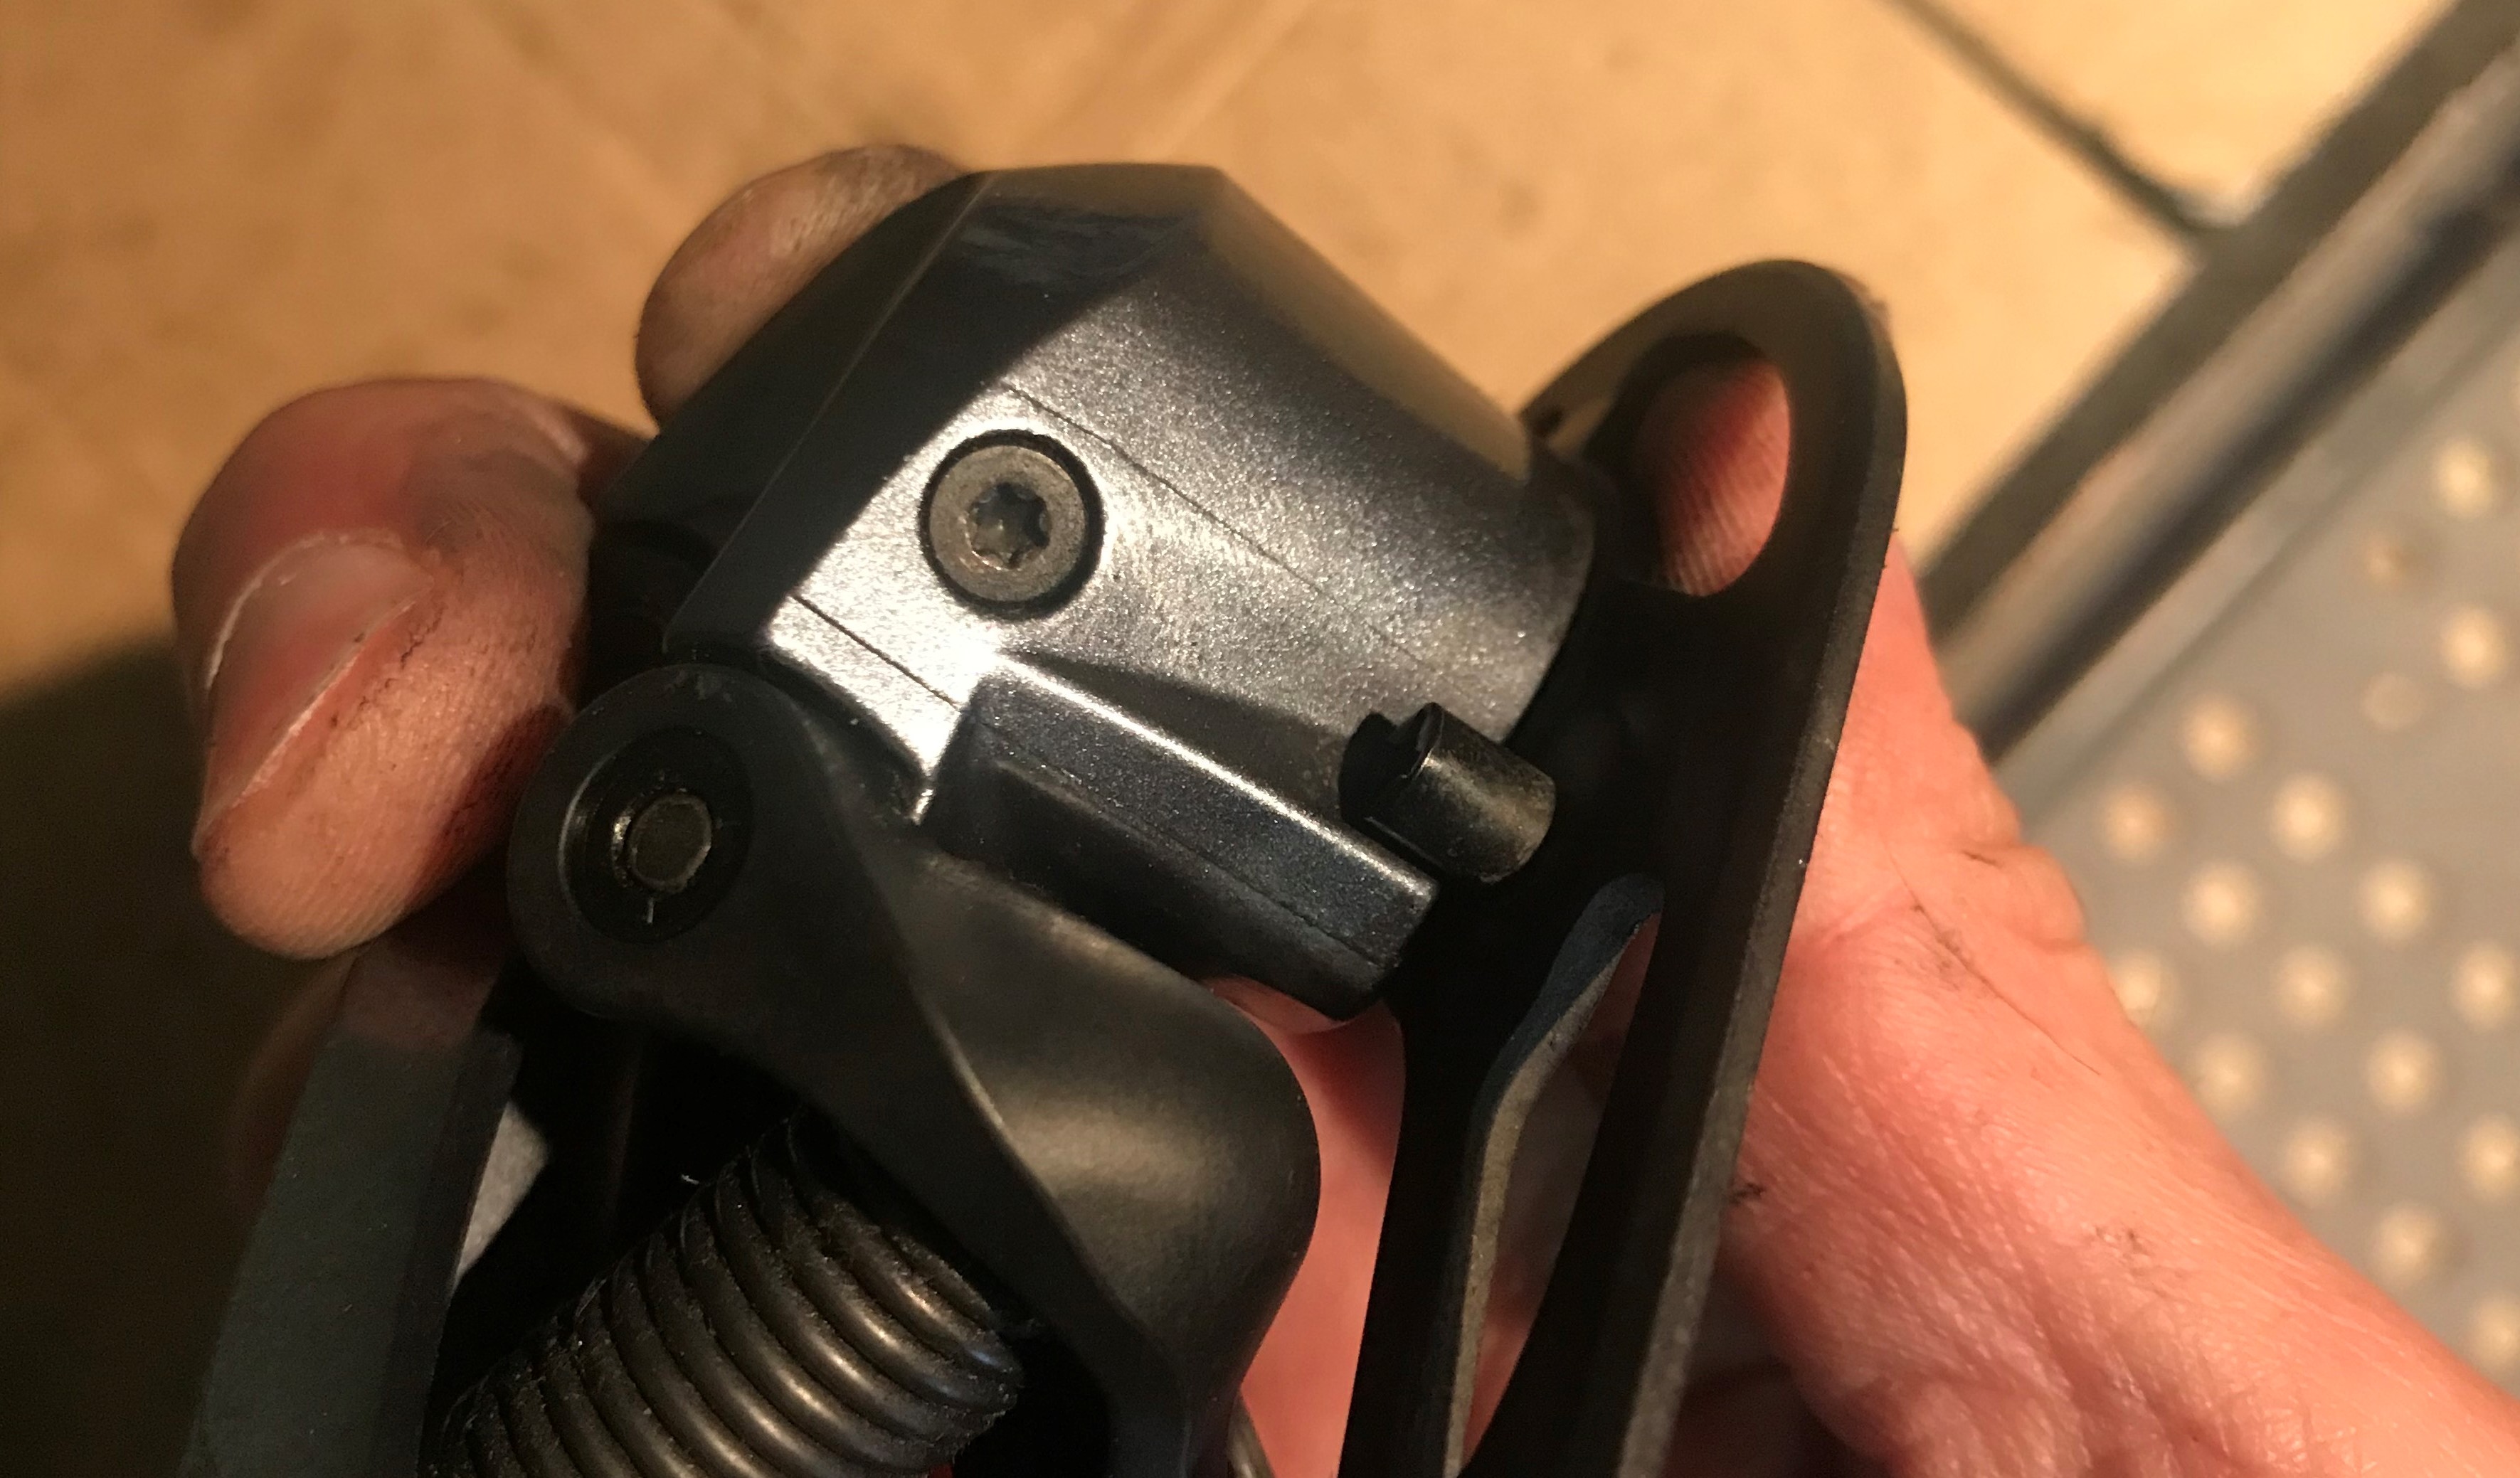
Once you’ve removed the derailleur, you need to remove the original pulley cage assembly. With Shimano R-series derailleurs this is straightforward. Undo the retaining screw (NOTE: it’s a star shaped head) then wiggle the pulley cage out of it’s home. The spring will still be under tension so will take a little bit of wiggling to coax out.

Take the spring and the rubber cover and move them from the original pulley to the OSPW, then slot it back into place on the derailleur body. Be careful here, you’ll want to make sure you wind it on a little so there’s some spring tension when you put it back together. Line up the spring with it’s slot, slide it in, turn the OSPW so it’s under tension and push it all the way in. Pop the retaining screw back in and you’re done!

Now install your derailleur as per usual. Depending on the length of your old chain, you may be able to re-use it. I was fine and can still big-big cross chain without ripping anything off it’s mount (not recommended of course). You may need to add two extra chain links for safety.

Now stand back and admire your handiwork and the beauty that is oversized jockey wheels!
First ride impressions? The drivetrain on the Trek 5200 is far smoother. You can absolutely feel the difference simply by giving the cranks a little spin. The reduced resistance is 100% noticeable. When actually riding I’m not sold on whether the difference is noticeable though. I’ll try and give a better update after a few more rides.
